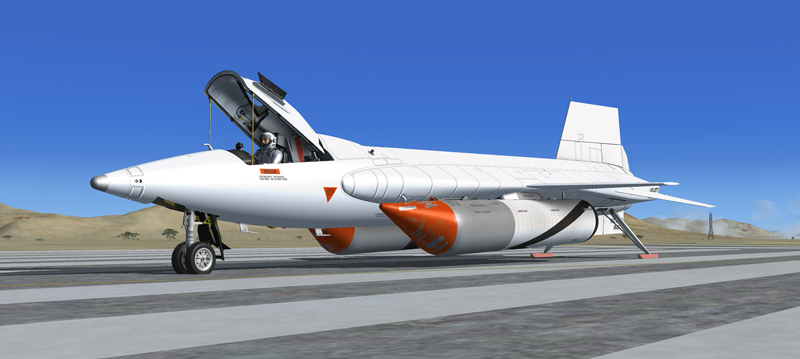
X-15A-2 SE with full ablative coating. The caution and warning markings are minimal (Prepar3D® v2 screenshot).
Refer to "General Arrangement (X-15A-2)" for an exterior representation of the X-15A-2 SE addon. It is recommended to familiarize yourself with the general external arrangement of the aircraft before proceeding. Refer to "Aircraft Description" for a complete description.
Note that because of the type of mission and the equipment used by the real X-15 pilot, it was not feasible for him to perform an exterior inspection of the aircraft before flight. This task was left to the ground personnel.
This will allow you to inspect the exterior of the X-15A-2 SE. You can use the top hat button on your joystick (or the arrow keys on your numeric keypad) to move around the aircraft. Use the "+" or "-" keys on your keyboard to zoom in and out. Use the "BACKSPACE" key to reset the zoom.
If you loaded the black aircraft (like the one by default in the "Ely to Edwards" saved flight) and prefer the white aircraft like the one shown in this section, now is the time to switch aircraft:
Basic flight procedures are the same for all aircraft.
The dummy ramjet (or ventral) [17-18, fig. 3-2] below the lower vertical stabilizer does not appear at this time to provide ground clearance and enough space for the rear landing skids [35, fig. 3-1]. The ramjet (or ventral) will appear later, when the landing gear is retracted after takeoff.
To open or close the canopy [9, fig. 3-1], simultaneously press the "SHIFT-E" keys on your keyboard.
Take a look inside the cockpit. Note that the pilot is wearing the David Clark A/P22S-2 full-pressure suit and helmet, released in early 1961, an improvement over the earlier MC-2 suit used at the beginning of the X-15 program.
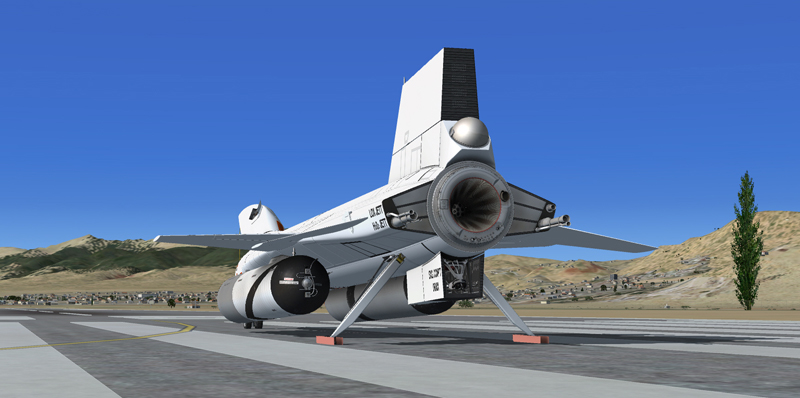
Rear view of the X-15A-2 SE-2 (Prepar3D® v2 screenshot).
In FSX and Prepar3D® v1, it is possible to observe the movement of the control surfaces, including the speed brakes, at this time. On the real aircraft, this would not be possible without the APUs operating and providing enough hydraulic power to the motors. This is not possible in Prepar3D® v2 and later until the APUs are started which is conform to the normal mode of operation of the real aircraft.
At this time, the X-15A-2 SE has not yet been serviced and the engine should be shut down. While highly improbable in this software version, if the engine was started by the simulator and was not shut down automatically by the X-15A-2 SE internal systems, do the following procedure to shut down the engine:
No visual effects (associated with aircraft lights or systems) such as engine flames, APU exhaust "smoke", or frost on the fuselage should be observed around the airplane at this time. Again, while highly improbable in this software version, if such effects are visible, do the following procedure to turn off the unwanted effects:
Return to the “VIRTUAL COCKPIT” ("F9" key on your keyboard).
In this section:
See also: