The virtual cockpit offers several options that can be set according to user's preferences. These options include selecting which type of windows should be installed, if the engine timer [11, fig. 5-1], the seat headrest [1, fig. 4-2] or the center stick [8, fig. 4-1] should be made invisible, if the re-entry head restraint [8, fig. 4-3] should be extended and if the radio-magnetic indicator should be installed.
In addition, the clamshell-type canopy can be made invisible to simulate a bubble glass canopy. Though not realistic in the case of the X-15, the invisible canopy mode gives the pilot a better outside view, especially during landing.
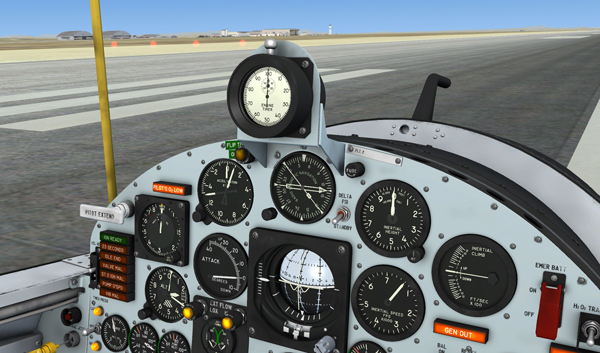
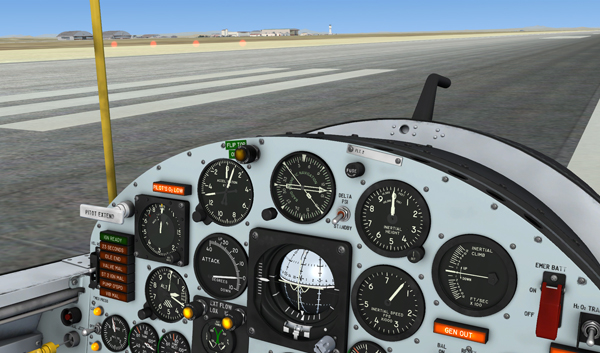
The X-15A-2 SE addon comes with two different window types: the elliptical type found on the X-15A-2 and the trapezoidal type found on the original X-15. While not realistic in the case of the A2, we thought that some users may prefer the trapezoidal type because it offers more visibility. User can switch between window types by clicking the fuse [74, fig. 5-1] located on the main panel, next to the engine timer. The eyelid on the left elliptical window (on some aircraft) can be opened or closed by dragging the eyelid handle [6, fig. 4-3] on the left side of the canopy. The images below show the two different window types. Note the closed eyelid in the first image:
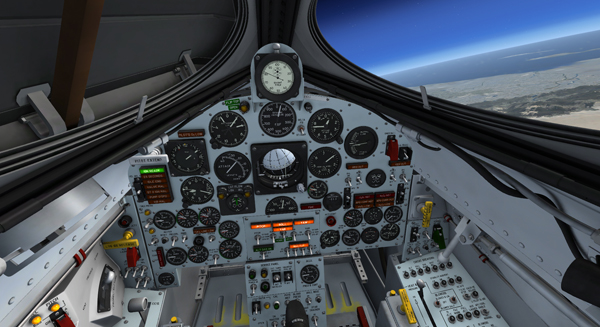
Default elliptical windows (X-15A-2). Note the closed eyelid on the left.
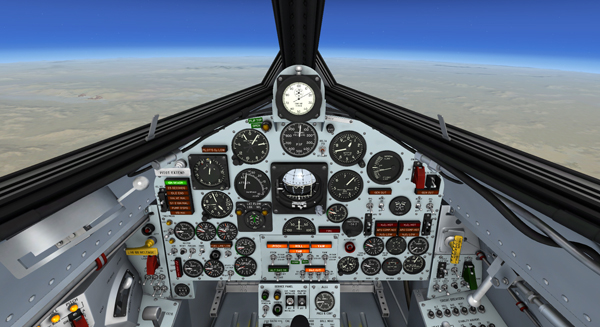
Optional trapezoidal windows (original X-15).
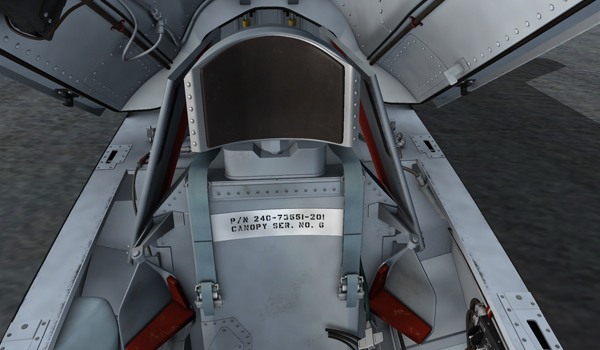
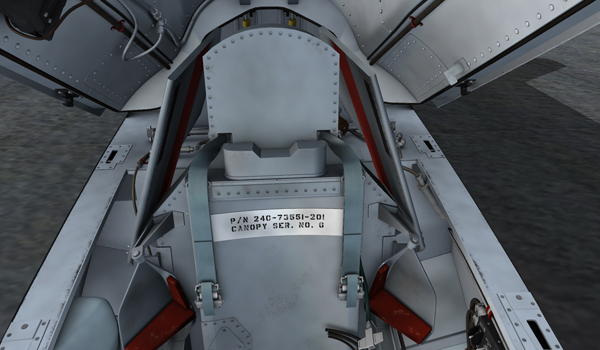
To make the canopy invisible, simply pull (drag with the mouse) the yellow canopy internal emergency jettison "T" handle [32, fig. 5-1] on the instrument panel right wing. Note that the internal canopy emergency jettison handle does not open the canopy. It simply makes it invisible while the simulator thinks it's still on. To open or close/lock the canopy, use the canopy internal handle [26, fig. 4-1] instead.
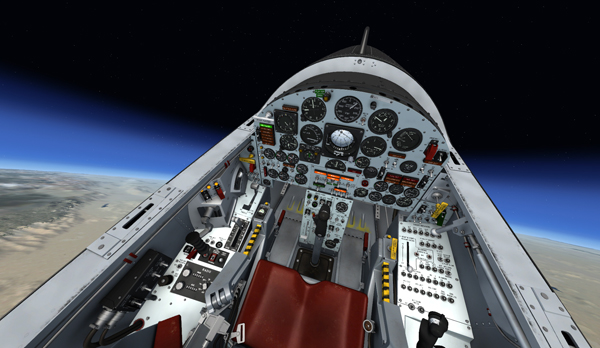
Invisible canopy mode.
Note: The canopy also becomes invisible on the external model.
The user can also select whether the engine timer [11, fig. 5-1], located on top of the main panel, is installed or not. This feature may be helpful during landing, especially if the canopy is made invisible. To remove the engine timer, click the white label [75, figure 5-1] located to the right side of the timer, on the main instrument panel. Click again to re-install the timer. The next two images show the main panel with the engine timer installed or removed:
Engine timer installed.
Engine timer removed.
The seat headrest [1, fig. 4-2] can also be removed for a better side view from the pilot's seat. To remove the seat headrest, click the pilot chute container [2, fig. 4-2] in the upper section of the seat. Click again to re-install the seat headrest:
Seat headrest installed.
Seat headrest removed.
The top head restraint [8, fig. 4-3], that is used during re-entry, can be extended or stowed by clicking the yellow front section:
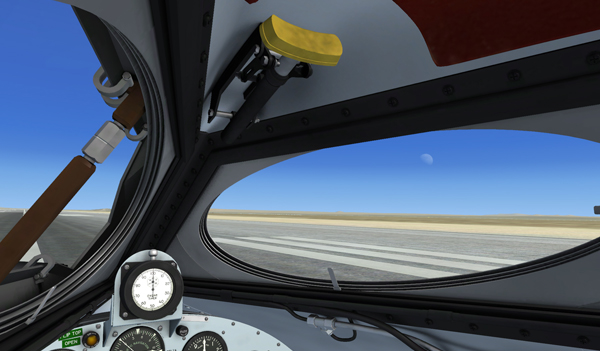
Re-entry head restraint in stowed position.
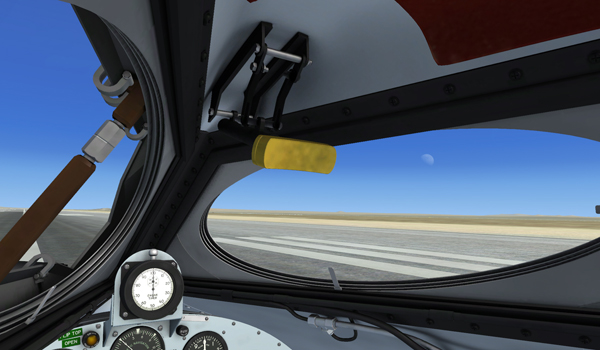
Re-entry head restraint in extended position.
The center stick [8, fig. 4-1] can be made invisible by clicking the center stick boot [9, fig. 4-1]. This gives the pilot a better view of the center pedestal, making the switches and controls more accessible. Click again to show the center stick:
Center stick shown.

Center stick hidden.
An optional radio-magnetic indicator is provided on the center panel. To show/hide the RMI, click the glass in front of the dynamic pressure gauge [10, fig. 5-1], just below the engine timer:
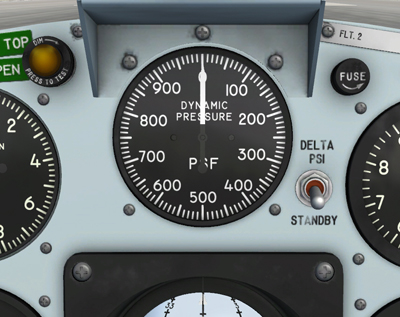
Dynamic pressure indicator installed.
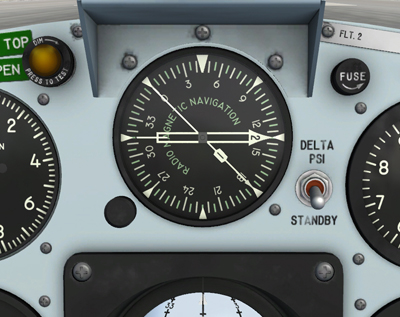
Radio-magnetic indicator installed.
See also:
How to Move the Pilot's Viewpoint in the Virtual Cockpit